
Your Microwave Pouch Did Not Burst Because the Seal Was Weak
A microwave pouch that bursts in the microwave looks like a weak seal, so the natural fix is a stronger one. That usually makes it worse. Heating turns the water in food into steam, and steam needs a way out. A pouch without a planned exit will make its own, at the weakest point it can find. Here is how microwave steam vent pouches give the steam a safe place to go, and what to get right before you put your food in one.
Overview
Your microwave rice is good. Your pouch looks great. Then a customer writes in: the pouch blew open in the microwave and sprayed hot rice across the inside of the door.
The obvious conclusion is that the seal was weak. So the next order goes out with wider, stronger seals. And the complaints get worse, because now the pouches that burst do it with more force.
The seal was never the problem. The problem is steam with nowhere planned to go.
Why Do Microwave Pouches Burst?
Because heating turns the water in food into steam, and steam takes up far more space than the water it came from.
A microwave heats food by heating the water inside it. As that water gets hot enough, some of it turns to steam. Steam needs much more room than liquid water, so a sealed pouch starts to swell like a balloon. The pressure inside keeps climbing as long as the food keeps steaming.
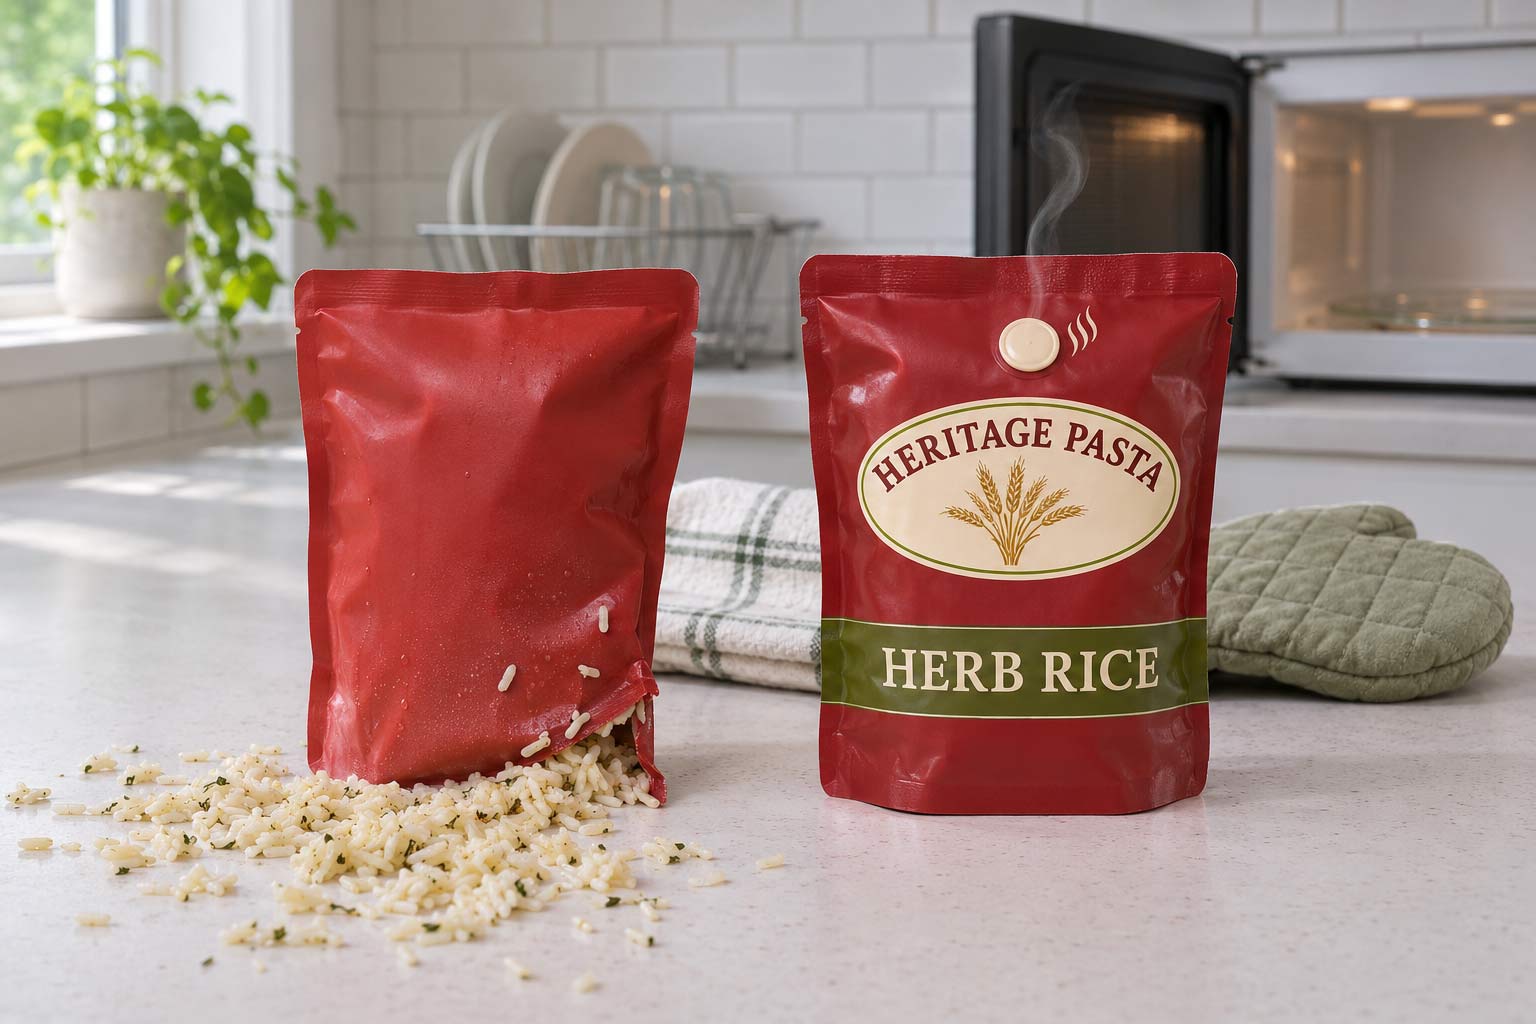
At some point the pouch has to let that pressure out. If nothing is built in to do it, the pouch picks its own exit, and it picks the weakest spot: usually a corner of the seal, a crease or a pinch near the zipper. When that spot finally gives, it gives all at once.
Why Doesn't a Stronger Seal Fix It?
Because a stronger seal does not stop the steam. It only lets the pressure build higher before something gives.
That is the misread worth knowing about. A burst pouch looks like a seal failure, so brands make the seal stronger. But the pouch still has no planned way out, so the pressure keeps rising until the next weakest point lets go, with even more force behind it. A tougher pouch can turn a hiss into a bang.
The real fix is the opposite of a tighter pouch. It is a pouch that opens a little, on purpose, in the right place.
How Does a Steam Vent Pouch Work?
It gives the steam one safe, planned exit, so the pressure never builds high enough to burst a seal.
There are a few ways to build that exit:
- A self-venting seal or vent area, a small section designed to open once the pressure reaches a set point, while the rest of the seals stay closed.
- A small one-way steam valve on the face of the pouch, which lets steam out without letting it build.
- A manual vent, where the customer tears a notch or opens a corner before heating. It works, but only if every customer reads the instructions.
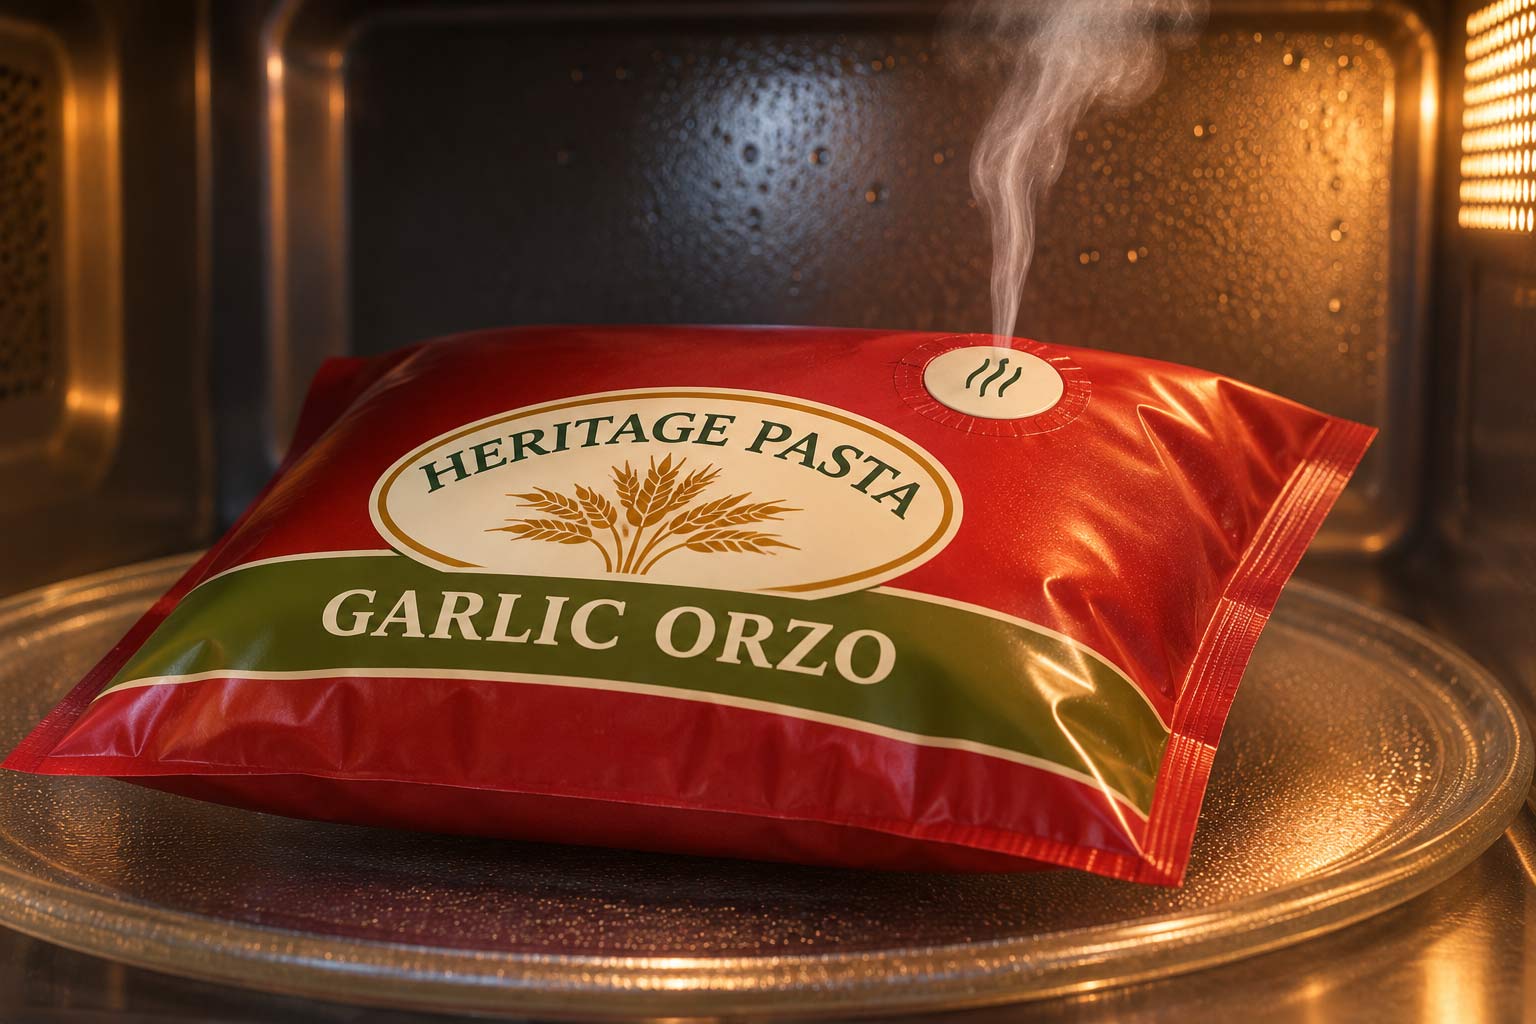
A well vented pouch puffs up, lets steam out in a steady stream through the vent, and stays in one piece. Many customers like the puff, because it shows the food is steaming inside. The hiss is the pouch working, not failing.
What Else Does a Microwave Pouch Need?
The right film, the vent in the right place, and instructions nobody can miss.
Film without foil. Aluminum foil and metallized films reflect microwaves and can spark. A microwave pouch needs a structure without a metal layer, and a sealant rated for the heat it will see. If your current pouch has foil for barrier, which is common, our post on foil and metal detectors explains what non-foil barrier options look like.
The vent at the top. The vent should sit where steam gathers, away from sauce and liquid. A vent placed low can spit hot liquid instead of steam. Decide whether the pouch stands up or lies flat in the microwave, and place the vent for that position.
Instructions on the front. "Vent side up," the heating time, and a clear reminder to open the pouch away from your face, because the steam inside is very hot. Print a cool grip area near the top so people know where to hold it. Instructions on the back get skipped.
A fill that matches the pouch. An overfilled pouch has less room to puff, so it reaches its venting pressure faster and can push food into the vent. Leave the headspace the pouch was designed for.
How Do I Test a Microwave Pouch?
Heat it in more than one microwave, more than once, the way real customers will.
- Try a low wattage and a high wattage microwave, since heating times vary a lot.
- Test straight from the fridge and, if the product is sold frozen, straight from the freezer. Our frozen food packaging guide covers how cold changes film.
- Heat it longer than the instructions say. Someone will.
- Watch where it vents, how long it takes and whether anything but steam comes out.
- After heating, check the pouch is safe to hold where you told people to hold it.
How Savor Brands Helps
Microwave packaging is a structure decision first and a design decision second, so the earlier you tell us the food will be heated in the pouch, the better.
- We start from how the food is heated. Tell us the product, the fill, whether it is chilled or frozen and how customers will heat it, and we will confirm which film structures and venting options are available for it before artwork starts.
- We print the instructions where they work. With digital printing from 500 bags per design, front panel heating instructions and a marked grip area are easy to add and easy to change after testing.
- Samples come before the full run. Test real pouches with your real food in real microwaves before you commit to volume.
You can see the full range of custom food packaging we make on our main packaging page.
Let the Steam Out on Purpose
A microwave pouch that bursts is not asking for a stronger seal. It is asking for an exit. Give the steam a planned vent at the top, choose a film without foil, print the instructions on the front and test in more than one microwave. Then the only thing your customers notice is a puff, a little hiss and a hot meal that stayed in the pouch until they opened it.


Ready to Create Packaging That Elevates Your Brand?
Let's bring your product to life on the shelf.
Get a Free Quote